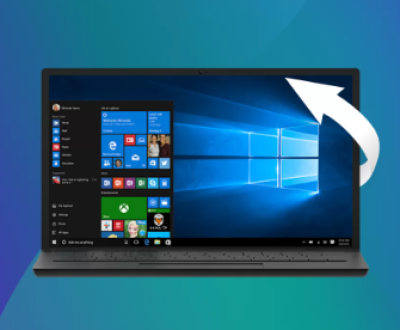
Creating a recovery USB drive for Windows 10 is an essential skill, especially if you encounter system issues or need to perform a clean installation.
1. Recovery USB Drives
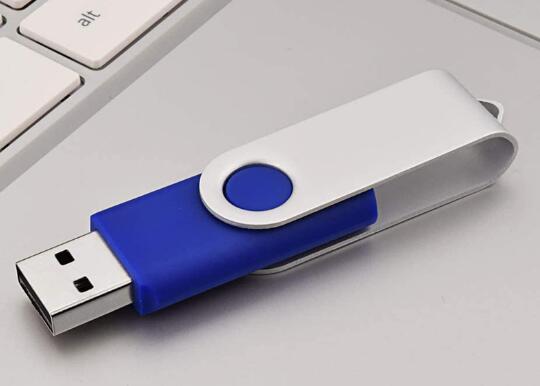
A recovery USB drive is a portable storage device that contains essential files to help troubleshoot and recover a Windows operating system. It can be used to:
Repair startup issues
Reset the PC to factory settings
Reinstall Windows
Access advanced recovery options
2. Requirements for Creating a Recovery USB
Before you begin, ensure you have the following:
A USB Drive: At least 8 GB of free space (make sure to back up any important data on it, as it will be formatted).
A Working Computer: The computer you are using to create the USB should have Windows 10 installed.
Internet Connection: Required to download Windows 10 files if using the Media Creation Tool.
3. Steps to Create a Windows 10 Recovery USB
3.1 Using Windows Media Creation Tool
The Media Creation Tool is the easiest way to create a recovery USB drive. Here’s how to do it:
Step 1: Download the Media Creation Tool
Go to the Microsoft Windows 10 download page.
Click on the Download tool now button.
Step 2: Prepare the USB Drive
Insert the USB drive into your computer.
Ensure all important files on the USB drive are backed up, as this process will erase all data.
Step 3: Run the Media Creation Tool
Open the downloaded Media Creation Tool.
Accept the license terms.
Step 4: Select “Create installation media”
Choose the option Create installation media (USB flash drive, DVD, or ISO file) and click Next.
Select your language, edition of Windows 10. and architecture (32-bit, 64-bit, or both).
Step 5: Choose USB Flash Drive
Select USB flash drive and click Next.
Choose the USB drive from the list (make sure it is the correct one) and click Next.
Step 6: Download and Create
The tool will download the necessary files and create the recovery USB. This may take some time, depending on your internet speed.
Once completed, click Finish.
3.2 Using Command Prompt
If you prefer using Command Prompt, you can create a recovery USB manually. Follow these steps:
Step 1: Open Command Prompt as Administrator
Right-click the Start button and select Windows Terminal (Admin) or Command Prompt (Admin).
Step 2: Format the USB Drive
Type diskpart and press Enter.
Type list disk and press Enter to see all connected drives.
Identify your USB drive by its size (e.g., Disk 1) and type select disk X (replace X with the number of your USB drive) and press Enter.
Type clean and press Enter to erase the drive.
Type create partition primary and press Enter.
Type format fs=ntfs quick and press Enter.
Type active and press Enter.
Type exit to close DiskPart.
Step 3: Copy Windows Files
You will need a Windows 10 ISO file to copy the necessary files:
Download the Windows 10 ISO from the Microsoft site.
Mount the ISO file by right-clicking it and selecting Mount.
Copy all the files from the mounted ISO to your USB drive.
4. Using the Recovery USB on Another PC
Once you have created the recovery USB, you can use it on another PC:
Step 1: Insert the USB Drive
Insert the recovery USB into the target computer.
Step 2: Boot from the USB Drive
Restart the computer.
Press the appropriate key (usually F2. F12. ESC, or DEL) to enter the boot menu. This key may vary depending on the manufacturer.
Select the USB drive from the boot menu and press Enter.
Step 3: Follow On-Screen Instructions
The Windows Setup screen will appear.
Select your preferences and click Next.
Click on Repair your computer to access recovery options.
5. Troubleshooting Common Issues
USB Drive Not Recognized: Ensure the USB drive is properly formatted and connected. Try a different USB port.
Boot Errors: If you cannot boot from the USB, verify that the BIOS settings allow USB booting and the USB is set as the primary boot device.
Incomplete Download: If the download fails, retry the Media Creation Tool or check your internet connection.
6. Best Practices for Maintenance
Regularly Update Your Recovery USB: Periodically recreate your recovery USB to ensure it has the latest Windows updates and drivers.
Store in a Safe Place: Keep the USB in a secure location to prevent loss or damage.
Create Multiple Copies: Consider creating recovery USB drives for different PCs or operating systems if needed.
About us and this blog
Panda Assistant is built on the latest data recovery algorithms, ensuring that no file is too damaged, too lost, or too corrupted to be recovered.
Request a free quote
We believe that data recovery shouldn’t be a daunting task. That’s why we’ve designed Panda Assistant to be as easy to use as it is powerful. With a few clicks, you can initiate a scan, preview recoverable files, and restore your data all within a matter of minutes.
Subscribe to our newsletter!
More from our blog
See all postsRecent Posts
- Recover deleted files windows 2025-07-02
- How to recover previous excel file 2025-07-02
- How to recover files that are permanently deleted 2025-07-02

 Try lt Free
 Recovery success rate of up to

