 Try lt Free
 Recovery success rate of up to
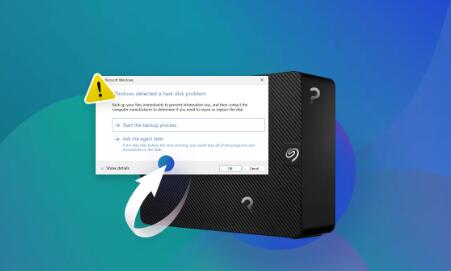
Among the most trusted names in this domain is Seagate, a company known for producing high-capacity and reliable storage devices. However, even top-tier devices like Seagate external hard drives can sometimes go unrecognized by a computer, causing panic and confusion among users.
1. Initial Assessment and Understanding the Problem
Before diving into fixes, it’s crucial to confirm the scope of the problem:
Is the drive spinning or lighting up?
Is it detected on another computer or OS?
Is the issue with all USB ports or just one?
Was it working previously on the same system?
Understanding these factors will help you identify whether the issue lies with the hardware, software, or configuration.
2. Common Reasons Why Seagate External Drives Aren’t Recognized
Several reasons may cause your Seagate external hard drive to go undetected:
Faulty USB Port or Cable
Driver Issues
Power Supply Limitations
Drive Letter Conflict
File System Corruption
Outdated Operating System
Partition or Formatting Problems
Virus or Malware Infection
Hardware Failure
3. Basic Troubleshooting Steps
A. Try a Different USB Port or Cable
Use a different USB port (preferably USB 3.0 or 2.0).
Replace the cable with a known working one.
B. Connect to Another Computer
Test the drive on another system to rule out a host-related issue.
C. Check the Drive in Disk Management (Windows)
Right-click on Start > Disk Management.
Look for the drive without a letter or marked as “Unallocated.”
D. Use Disk Utility (Mac)
Navigate to Applications > Utilities > Disk Utility.
Locate the drive and attempt mounting it manually.
4. Advanced Troubleshooting (Windows)
A. Assign a Drive Letter
Open Disk Management.
Right-click the Seagate drive > Change Drive Letter and Paths.
Add a new letter if none is assigned.
B. Update or Reinstall Drivers
Open Device Manager.
Locate the drive under Disk Drives or USB controllers.
Right-click > Update Driver.
If not detected, uninstall and reboot.
C. Enable the Drive in BIOS/UEFI
Enter BIOS/UEFI during startup.
Ensure USB ports and external drives are enabled.
D. Check for File System Errors
Use Command Prompt: chkdsk X: /f (replace X with drive letter)
E. Use Diskpart Utility
Run CMD as Administrator:
diskpart
list disk
select disk #
list volume
F. Run Hardware and Devices Troubleshooter
Open Control Panel > Troubleshooting > Hardware and Sound.
5. Advanced Troubleshooting (Mac)
A. Use First Aid in Disk Utility
Open Disk Utility.
Select the drive > Click “First Aid” > Run.
B. Terminal Checks
Run diskutil list to see if the drive is listed.
Use diskutil mountDisk /dev/diskX to attempt mounting.
C. Reset SMC and NVRAM
Shut down the Mac and follow Apple instructions to reset system settings.
6. Formatting and Data Recovery Considerations
If the drive appears but is not accessible:
A. Backup Data First
Use recovery software like Panda Data Recovery.
B. Format the Drive (if data isn’t critical or already backed up)
Right-click in Disk Management > Format.
Choose NTFS or exFAT (Windows) or APFS/Mac OS Extended (Mac).
C. Recreate Partitions
Use Disk Management or Disk Utility to delete and create new volumes.
7. Seagate-Specific Solutions
A. Seagate Drive Utilities
Download Seagate’s own diagnostic tools to:
Run health checks
Perform firmware updates
Repair disk structure
B. Seagate Dashboard / Toolkit
These tools can manage backups, encryption, and check for errors.
C. Warranty and Support
If hardware failure is suspected, check Seagate’s warranty status.
Visit Seagate’s support portal for RMAs.
8. Prevention and Maintenance Tips
Safely Eject Drives: Always use the “Eject” feature before unplugging.
Avoid Power Surges: Use surge protectors.
Regular Backups: Don’t rely on a single external drive for all critical data.
Scan for Malware Regularly
Keep Drivers Updated
9. When to Seek Professional Help
If the drive:
Doesn’t spin or power up
Makes clicking or beeping noises
Isn’t detected across multiple systems
Contains critical data you can’t afford to lose
…it’s time to consult professional data recovery services.
About us and this blog
Panda Assistant is built on the latest data recovery algorithms, ensuring that no file is too damaged, too lost, or too corrupted to be recovered.
Request a free quote
We believe that data recovery shouldn’t be a daunting task. That’s why we’ve designed Panda Assistant to be as easy to use as it is powerful. With a few clicks, you can initiate a scan, preview recoverable files, and restore your data all within a matter of minutes.
Subscribe to our newsletter!
More from our blog
See all posts


