USB File Recovery Tutorial
1. Introduction
USB drives are among the most convenient and widely used storage devices today. They are portable, affordable, and can store large amounts of data. However, they are also prone to data loss due to various reasons such as accidental deletion, formatting errors, or even physical damage. When data loss occurs, it can be stressful, especially if the files are important. This tutorial will guide you through the process of rescuing files from a USB drive, ensuring that you can recover as much data as possible.
2. Preparing for USB File Recovery
The first rule of data recovery is to stop using the USB drive immediately after noticing data loss. Continued use can overwrite the lost files, making recovery more difficult or even impossible.

Common Scenarios of Data Loss:
Accidental Deletion: Files might be deleted unintentionally or by mistakenly using the “Shift + Delete” command, which bypasses the Recycle Bin.
Formatting Errors: You might have formatted the USB drive by mistake or encountered a message asking you to format the drive to use it.
Corrupted Files: The USB drive might be corrupted due to unsafe ejection, virus attacks, or file system errors.
Choosing the Right Recovery Software: Before you begin the recovery process, you need to choose the right software. There are many options available, ranging from free to paid versions. Some popular tools include Panda Assistant, Recuva, and Disk Drill. Choose a tool based on your specific needs, such as ease of use, file type support, and the ability to recover from severe corruption.
3. Step-by-Step Guide to USB File Recovery
Step 1: Analyze the USB Drive
Before starting the recovery, it’s important to analyze the condition of your USB drive.
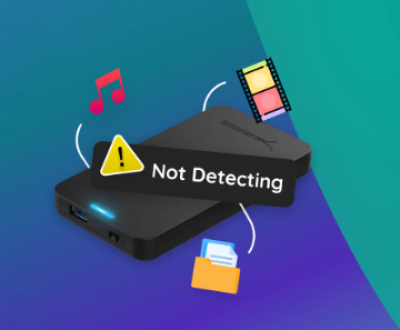
Check Physical Connections: Ensure that the USB drive is properly connected to the computer. If the drive isn’t detected, try plugging it into another USB port or a different computer.
Run Disk Utilities: For Windows, use the built-in “Check Disk” utility. Right-click on the USB drive in “This PC,” go to “Properties,” select the “Tools” tab, and click “Check.” On macOS, use “Disk Utility” to verify and repair the drive.
Step 2: Selecting a Recovery Tool
Choosing the right software is crucial. Here’s a brief overview of some tools:
Panda Assistant: Ideal for quick and deep scans, with a user-friendly interface.
Recuva: A free tool with basic recovery features, suitable for simple data loss situations.
Disk Drill: Offers more advanced features and supports a wider range of file formats.
Download the software from the official website to avoid malware, and follow the installation instructions.
Step 3: Installing and Running the Software
Once you’ve selected your recovery software:
Download and install the software from a trusted source.
Launch the application and ensure that your USB drive is recognized.
Select the drive from which you want to recover files.
Choose the type of scan (Quick Scan or Deep Scan). A deep scan may take longer but is more thorough.
Step 4: Scanning for Lost Files
The software will scan your USB drive for recoverable files.
Quick Scan vs. Deep Scan: A quick scan is faster but may not find all lost files. A deep scan is more thorough and is recommended if you can’t find the files in a quick scan.
Understanding Scan Results: After the scan is complete, the software will display a list of recoverable files. Most tools allow you to preview the files before recovery, helping you identify the ones you need.
Step 5: Recovering and Saving Files
Now that you have identified the files:
Preview the files to ensure they are intact.
Select the files you wish to recover.
Save the files to a different location, preferably not on the USB drive to avoid overwriting any remaining data.
4. Advanced Recovery Techniques
Sometimes, standard recovery methods may not work, especially if the USB drive is severely damaged.
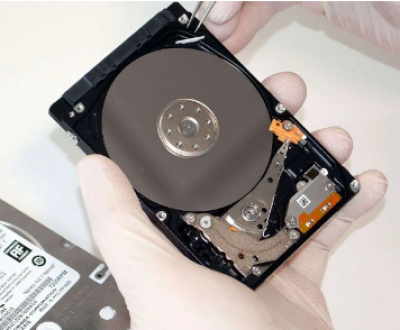
Recovering from Severely Damaged Drives: If your USB drive is physically damaged or severely corrupted, you might need professional recovery services. However, if you want to try yourself, creating a disk image of the USB drive and recovering files from the image can be safer.
Using Command-Line Tools: For tech-savvy users, tools like TestDisk or the Command Prompt in Windows (e.g., using the chkdsk command) can be powerful. However, these require a good understanding of command-line operations.
Disk Imaging: Tools like ddrescue can create a clone of your USB drive, allowing you to recover files without risking further damage to the original drive.
5. Preventing Future Data Loss
Once you’ve successfully recovered your files, it’s crucial to take steps to prevent future data loss.
Regular Backups: Always keep a backup of your important files in multiple locations, such as cloud storage, external hard drives, or another USB drive.
Safely Eject USB Drives: Always use the “Eject” or “Safely Remove Hardware” option before disconnecting your USB drive to prevent corruption.
Use Reliable Antivirus Software: Protect your USB drives from viruses and malware by using up-to-date antivirus software.
Recovering files from a USB drive can be a straightforward process if you follow the right steps and use the appropriate tools. By understanding the causes of data loss, selecting the right recovery software, and taking preventative measures, you can minimize the risk of future data loss and ensure that your important files are always safe.
About us and this blog
Panda Assistant is built on the latest data recovery algorithms, ensuring that no file is too damaged, too lost, or too corrupted to be recovered.
Request a free quote
We believe that data recovery shouldn’t be a daunting task. That’s why we’ve designed Panda Assistant to be as easy to use as it is powerful. With a few clicks, you can initiate a scan, preview recoverable files, and restore your data all within a matter of minutes.
Subscribe to our newsletter!
More from our blog
See all postsRecent Posts
- How to recover data from portable hard drive 2025-07-10
- How to recover data from a broken hard drive 2025-07-10
- How do i recover files from a formatted hard drive 2025-07-10

 Try lt Free
 Recovery success rate of up to

