1. Understanding the Problem
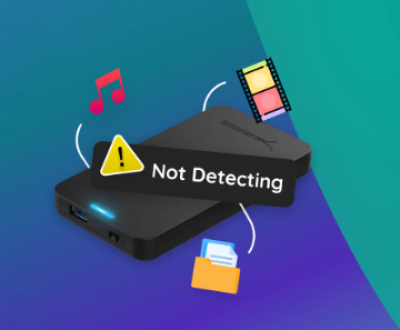
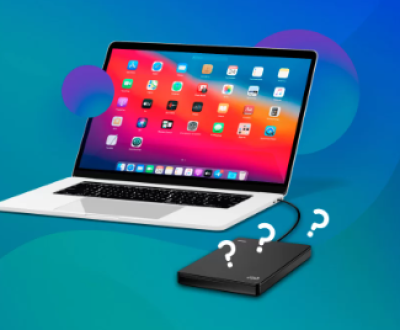
Windows 11. like previous versions, provides a safe way to remove external devices such as hard drives through the system tray icon. However, sometimes the system might not allow you to eject the device due to various reasons, such as file access or background processes.
2. Basic Steps to Eject an External Hard Drive
Close Open Files and Applications:
Make sure no files from the external hard drive are open.
Close any applications that might be using the drive.
Use the System Tray Eject Option:
Click on the “Safely Remove Hardware and Eject Media” icon in the system tray.
Select the external hard drive you wish to eject.
Wait for the notification that it’s safe to remove the device.

3. Troubleshooting Steps
If you cannot eject your external hard drive using the basic method, try the following solutions:
A. Check for Open Files and Programs
Use Task Manager:
Press Ctrl + Shift + Esc to open Task Manager.
Look for any processes that might be using the external drive.
End tasks that might be accessing the drive by selecting them and clicking “End Task.”
Use Resource Monitor:
Open Resource Monitor by typing resmon in the Start menu search and pressing Enter.
Go to the “Disk” tab and check for any files or processes accessing your external drive.
B. Use the Disk Management Tool
Open Disk Management:
Right-click on the Start button and select “Disk Management.”
Locate your external hard drive in the list.
Change Drive Letter:
Right-click on the external drive and select “Change Drive Letter and Paths.”
Change the drive letter and see if you can eject it after doing so.
C. Disable Write Caching
Open Device Manager:
Right-click on the Start button and select “Device Manager.”
Locate the External Hard Drive:
Expand the “Disk drives” section and right-click on your external drive.
Access Properties:
Select “Properties” and go to the “Policies” tab.
Disable Write Caching:
Select “Quick removal (default)” which disables write caching and click “OK.”
Try ejecting the drive again.
D. Check for Hidden Processes
Use Command Prompt:
Open Command Prompt as an administrator by typing cmd in the Start menu, right-clicking on it, and selecting “Run as administrator.”
List Open Files:
Type handle.exe -a (you may need to download the Sysinternals Suite for this command).
Identify if any processes are accessing your external hard drive.
E. Safely Remove Using Diskpart
Open Diskpart:
Open Command Prompt as an administrator.
Run Diskpart:
Type diskpart and press Enter.
List Volumes:
Type list volume to see a list of all volumes.
Select Volume:
Identify the volume number of your external drive and type select volume .
Remove Volume:
Type remove all dismount and press Enter.
4. Advanced Solutions
If you’ve tried the basic and advanced steps and still cannot eject the drive, consider these solutions:
A. Update or Reinstall Drivers
Open Device Manager:
Right-click on the Start button and select “Device Manager.”
Update Driver:
Right-click on the external drive under “Disk drives” and select “Update driver.”
Choose “Search automatically for updated driver software.”
Reinstall Driver:
If updating doesn’t work, you might try uninstalling the driver and restarting your computer to reinstall it.
B. Check for Malware
Run a Full System Scan:
Use Windows Defender or another reputable antivirus program to scan your system for malware that might be interfering with the ejection process.
C. Check External Hard Drive for Errors
Run CHKDSK:
Open Command Prompt as an administrator.
Type chkdsk : /f and press Enter to check and fix file system errors on the external drive.
5. Preventive Measures
To avoid future issues with ejecting external hard drives, consider these preventive measures:
Regularly Save and Close Files: Ensure that all files are properly saved and closed before attempting to eject the drive.
Use Safe Eject: Always use the “Safely Remove Hardware” feature to prevent data corruption.
Check for System Updates: Keep your Windows 11 updated to ensure you have the latest fixes and improvements.
About us and this blog
Panda Assistant is built on the latest data recovery algorithms, ensuring that no file is too damaged, too lost, or too corrupted to be recovered.
Request a free quote
We believe that data recovery shouldn’t be a daunting task. That’s why we’ve designed Panda Assistant to be as easy to use as it is powerful. With a few clicks, you can initiate a scan, preview recoverable files, and restore your data all within a matter of minutes.
Subscribe to our newsletter!
More from our blog
See all postsRecent Posts
- How to recover data from portable hard drive 2025-07-10
- How to recover data from a broken hard drive 2025-07-10
- How do i recover files from a formatted hard drive 2025-07-10

 Try lt Free
 Recovery success rate of up to

