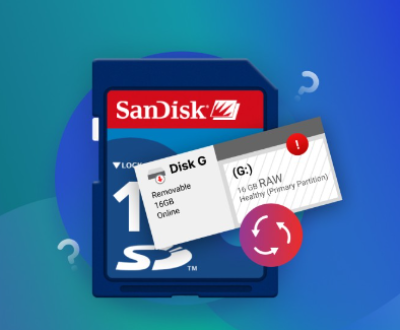
Secure Digital (SD) cards are widely used in smartphones, cameras, tablets, and other electronic devices to store data. However, encountering a write-protected SD card can be frustrating when you need to format it or modify its contents. Write protection prevents the card from being altered, which can be due to physical locks, file system errors, or software restrictions.
Write Protection on an SD Card
Before proceeding with formatting, it is essential to understand why an SD card becomes write-protected. The common reasons include:
Physical Lock Switch: Many SD cards have a small switch on the side that enables write protection.
File System Corruption: Damaged file systems can result in a read-only state.

Registry Restrictions: Windows registry settings might prevent writing to the SD card.
Malware or Virus Infections: Some malicious programs can modify access permissions.
Permissions Set by the Manufacturer: Some SD cards come pre-configured with manufacturer-set protections.
Methods to Remove Write Protection and Format the SD Card
Method 1: Check the Physical Lock Switch
Remove the SD card from the device.
Inspect the side of the card for a small switch.
If the switch is in the locked position, slide it to the unlocked position.
Insert the SD card back into the device and try formatting it.
Method 2: Use DiskPart on Windows
Connect the SD card to your computer using a card reader.
Open the Command Prompt by pressing Win + R, typing cmd, and pressing Enter.
Type diskpart and press Enter.
In the DiskPart console, type list disk and press Enter.
Identify the SD card from the listed drives and note its disk number.
Type select disk X (replace X with your disk number) and press Enter.
Type attributes disk clear readonly and press Enter.
Type exit and try formatting the SD card.
Method 3: Modify Windows Registry
Press Win + R, type regedit, and press Enter.
Navigate to HKEY_LOCAL_MACHINE\SYSTEM\CurrentControlSet\Control\StorageDevicePolicies.
If WriteProtect is set to 1. double-click it and change the value to 0.
Close the Registry Editor and restart your computer.
Try formatting the SD card.
Method 4: Use Disk Management on Windows
Right-click on the Start menu and select Disk Management.
Locate your SD card, right-click on it, and choose Format.
Select the file system (FAT32. exFAT, or NTFS) and click OK.
If the option is grayed out, try deleting the partition first and then creating a new one.
Method 5: Use CHKDSK to Repair the SD Card
Open Command Prompt as an administrator.
Type chkdsk X: /f (replace X with the drive letter of your SD card) and press Enter.
Wait for the scan to complete and then try formatting the SD card.
Method 6: Use Third-Party Software
If built-in tools fail, consider using third-party utilities such as:
SD Formatter (by the SD Association)
MiniTool Partition Wizard
EaseUS Partition Master
Download and install one of these tools, select your SD card, remove write protection if needed, and format it.
Method 7: Formatting on macOS
Insert the SD card into your Mac.
Open Disk Utility (from Applications > Utilities).
Select the SD card and click Erase.
Choose FAT32 or exFAT as the file system.
Click Erase and wait for the process to complete.
Method 8: Formatting on Linux
Open the terminal.
Type lsblk to identify the SD card.
Unmount the card using sudo umount /dev/sdX (replace X with your card’s identifier).
Format using sudo mkfs.vfat -F32 /dev/sdX for FAT32 or sudo mkfs.exfat /dev/sdX for exFAT.
Reinsert the card and check if it’s writable.
Preventing Future Write Protection Issues
Avoid abrupt removal of the SD card while transferring data.
Regularly scan your SD card for malware.
Always use the Eject option before removing the SD card.
Keep your card’s firmware updated if applicable.
Use high-quality SD cards from reputable brands to reduce failure rates.
Formatting a write-protected SD card can be challenging, but by following the above methods, you can remove the write protection and successfully format the card. If none of the solutions work, your SD card may be physically damaged, and replacing it might be the best option.
About us and this blog
Panda Assistant is built on the latest data recovery algorithms, ensuring that no file is too damaged, too lost, or too corrupted to be recovered.
Request a free quote
We believe that data recovery shouldn’t be a daunting task. That’s why we’ve designed Panda Assistant to be as easy to use as it is powerful. With a few clicks, you can initiate a scan, preview recoverable files, and restore your data all within a matter of minutes.
Subscribe to our newsletter!
More from our blog
See all postsRecent Posts
- How to recover lost files on sd card 2025-07-18
- How do i recover a lost document in word 2025-07-18
- How to recover lost files on windows 10 2025-07-18

 Try lt Free
 Recovery success rate of up to

