 Try lt Free
 Recovery success rate of up to
Recovering deleted files from your computer can seem like a daunting task, but with the right steps, it’s often possible to recover them. Whether the files were accidentally deleted, lost due to a system crash, or deleted from the Recycle Bin, there are multiple methods available for retrieval.
1. File Deletion
Before diving into the recovery process, it’s important to understand how files are deleted on your computer. When you delete a file from your computer, it isn’t necessarily gone forever. Instead, the space that the file occupied is marked as available for new data. The file itself remains on your storage device until it is overwritten by new data. This is why deleted files can often be recovered, as long as they haven’t been overwritten.
2. Check the Recycle Bin (Windows) or Trash (Mac)
The first step in recovering deleted files is to check your Recycle Bin (Windows) or Trash (Mac). When files are deleted, they are often moved to these locations first, before being permanently erased from your computer.
For Windows:
Open the Recycle Bin by double-clicking its icon on the desktop.
Browse through the files in the Recycle Bin. You can search for the file you want to recover using the search bar at the top.
Once you locate the deleted file, right-click on it and select Restore. The file will be restored to its original location.
For Mac:
Open the Trash by clicking its icon in the Dock.
Browse through the files or use the search function to find the file you wish to restore.
Right-click on the file and select Put Back. The file will be restored to its original location.
3. Use File History (Windows) or Time Machine (Mac)
If the file isn’t in the Recycle Bin or Trash, you can use built-in backup tools to recover it. These tools automatically back up your files to an external storage device or network location.
For Windows (File History):
Type File History into the Windows search bar and select Restore your files with File History.
Browse through the available backups to find the version of the file you want to restore.
Once located, click on Restore to return the file to its original location.
For Mac (Time Machine):
Open the folder where the file was originally located.
Click on the Time Machine icon in the menu bar and select Enter Time Machine.
Use the timeline on the right to scroll back in time and locate the file.
Once you find it, click Restore to restore the file to its original location.
4. Use Data Recovery Software
Panda Assistant
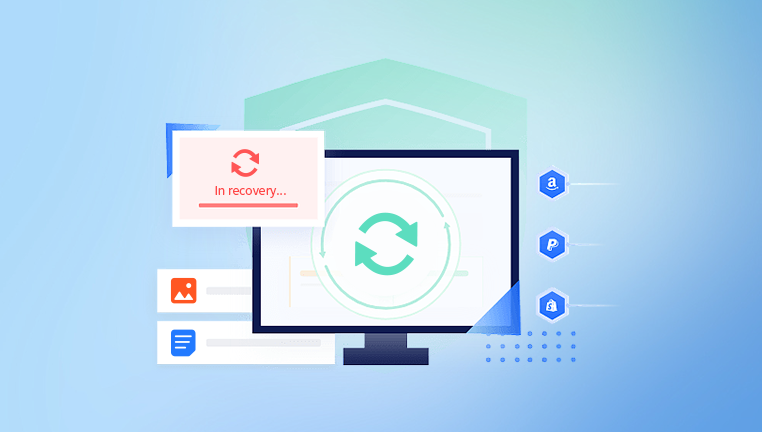
Panda Assistant is a powerful data recovery software designed to help users retrieve lost files from hard drives, USB flash drives, SD cards, and other storage devices. Even if your files were deleted from the Recycle Bin or lost due to partition issues or formatting errors, Panda Assistant can help you recover them.
The recovery process with Panda Assistant is simple and straightforward:
Download and Install: First, install Panda Assistant on your computer. To avoid overwriting deleted files, it’s best to install the software on a different drive than the one you’re recovering from.
Launch and Scan: Open the program and select the drive where your files were deleted. Use the Quick Scan for recently deleted files or Deep Scan for more extensive recovery.
Preview and Recover: Once the scan is complete, Panda Assistant will list all recoverable files. You can preview documents, photos, videos, and more to ensure they’re intact. Simply select the files you want and click “Recover” to restore them to a safe location.
With support for hundreds of file types and an intuitive interface, Panda Assistant is ideal for beginners and professionals alike. Whether you lost personal photos, work documents, or system files, Panda Assistant makes recovery hassle-free.
5. Recover Files from Cloud Backup
If you use a cloud storage service such as Google Drive, Dropbox, OneDrive, or iCloud, you may be able to recover deleted files from there. These services often have built-in file recovery options.
Google Drive:
Open Google Drive in your browser.
Click on Trash in the left sidebar.
Locate the deleted file, right-click on it, and select Restore.
Dropbox:
Go to the Dropbox website and log in.
Click on Deleted files from the left sidebar.
Find the file you want to recover, click on the three dots next to it, and select Restore.
OneDrive:
Go to the OneDrive website and log in.
Click on Recycle Bin in the left sidebar.
Locate the deleted file, click on the checkbox next to it, and select Restore.
iCloud:
Open iCloud.com and sign in with your Apple ID.
Go to iCloud Drive.
Click on Recently Deleted on the left sidebar.
Select the file and click Recover.
6. Check for Backup Copies
If you have used backup software such as Windows Backup, Acronis True Image, or any other third-party backup service, you can try restoring deleted files from these backups. These services create regular copies of your files, which may include the deleted data.
For Windows Backup:
Open Control Panel and go to Backup and Restore.
Click on Restore my files.
Follow the prompts to locate the backup and restore the deleted file.
For Acronis True Image or Similar Tools:
Open the backup software.
Select the backup image that includes the deleted file.
Browse through the backup and restore the file.
7. Advanced Recovery Methods (Command Prompt)
If you are comfortable using the command line, there are several advanced methods for attempting file recovery. These are typically more complex and may not always work, but they can be useful in some situations.
Using Command Prompt to Recover Files (Windows):
Open Command Prompt as an administrator by typing cmd in the Start menu, right-clicking, and selecting Run as administrator.
Type the following command:
bash
CopyEdit
chkdsk C: /f
Replace C: with the letter of the drive where your files were stored.
Press Enter to run the scan. This can sometimes repair file system errors that prevent the recovery of deleted files.
After the scan completes, check the drive to see if your deleted files are now accessible.
8. Prevent Future Data Loss
After recovering your deleted files, it’s important to take steps to prevent future data loss. Here are some tips to help protect your data:
Regular Backups: Set up automatic backups to ensure your data is always safe. Use cloud storage, external hard drives, or dedicated backup software.
Use File Versioning: If possible, enable file versioning, which keeps older versions of your files in case you need to restore them.
Be Cautious with Deletions: Double-check before deleting files and ensure they aren’t important before confirming deletion.
Invest in Reliable Storage: Use high-quality storage devices that are less likely to fail unexpectedly.
About us and this blog
Panda Assistant is built on the latest data recovery algorithms, ensuring that no file is too damaged, too lost, or too corrupted to be recovered.
Request a free quote
We believe that data recovery shouldn’t be a daunting task. That’s why we’ve designed Panda Assistant to be as easy to use as it is powerful. With a few clicks, you can initiate a scan, preview recoverable files, and restore your data all within a matter of minutes.
Subscribe to our newsletter!
More from our blog
See all posts


