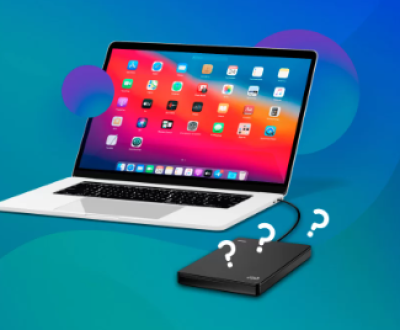
Managing internal storage is crucial for ensuring your devices run efficiently. Over time, files can accumulate, consuming valuable space and potentially slowing down your system.
Internal Storage
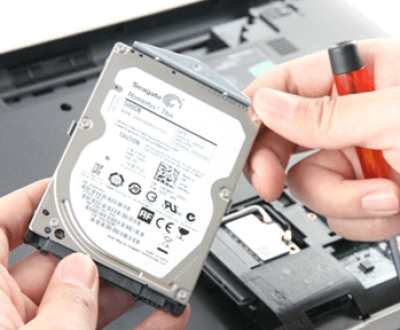
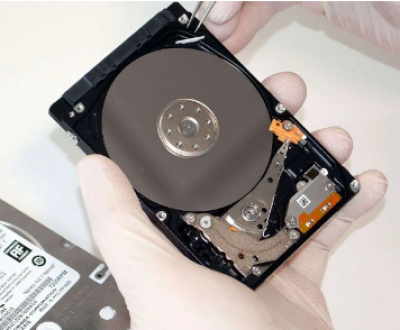
Before diving into the deletion process, it’s important to understand what internal storage is. Internal storage refers to the space within your device where the operating system, applications, and personal files are stored. This can include documents, photos, videos, apps, and system files.
Why Delete Files?
Free Up Space: To install new applications or store more data.
Improve Performance: A cluttered storage can slow down your device.
Organize Files: Keeping your storage organized makes it easier to find important files.

Deleting Files on Windows
Step 1: Accessing File Explorer
Open File Explorer: You can do this by clicking on the folder icon in the taskbar or by pressing Windows + E.
Navigate to the Location: Go to the folder where the files you want to delete are located.
Step 2: Selecting Files
Single File: Click on the file once to select it.
Multiple Files: Hold down the Ctrl key and click on each file you want to delete. For a continuous selection, hold down the Shift key and click the first and last files in the range.
Step 3: Deleting Files
Right-click and Delete: Right-click on the selected file(s) and choose “Delete” from the context menu.
Keyboard Shortcut: Alternatively, you can press the Delete key on your keyboard.
Confirm Deletion: A dialog box may appear asking you to confirm the deletion. Click “Yes” to proceed.
Step 4: Emptying the Recycle Bin
Deleted files go to the Recycle Bin. To permanently remove them:
Open Recycle Bin: Double-click the Recycle Bin icon on your desktop.
Empty Recycle Bin: Click “Empty Recycle Bin” at the top of the window and confirm.
Deleting Files on macOS
Step 1: Accessing Finder
Open Finder: Click on the Finder icon in the Dock.
Navigate to Your Files: Browse to the location of the files you want to delete.
Step 2: Selecting Files
Single File: Click on the file to select it.
Multiple Files: Hold down the Command key and click on each file you want to select.
Step 3: Deleting Files
Right-click and Move to Trash: Right-click on the selected file(s) and choose “Move to Trash.”
Keyboard Shortcut: Press Command + Delete to move the selected files to the Trash.
Step 4: Emptying the Trash
Open Trash: Click on the Trash icon in the Dock.
Empty Trash: Click “Empty” in the upper-right corner of the window, then confirm.
Deleting Files on Android
Step 1: Open File Manager
Access the File Manager App: This might be called “Files,” “My Files,” or something similar.
Navigate to the Files: Browse through the categories or folders to find the files you want to delete.
Step 2: Selecting Files
Single File: Tap and hold on the file to select it.
Multiple Files: After selecting one file, you can tap on additional files to select them.
Step 3: Deleting Files
Tap on Delete: Look for a trash can icon or a “Delete” option in the menu.
Confirm Deletion: A confirmation dialog may appear. Tap “OK” or “Delete” to confirm.
Deleting Files on iOS
Step 1: Open the Files App
Access the Files App: Tap on the Files app on your home screen.
Navigate to the Files: Browse through your folders to locate the files you want to delete.
Step 2: Selecting Files
Single File: Tap and hold the file until it is selected.
Multiple Files: Tap “Select” in the upper-right corner, then tap on each file you wish to delete.
Step 3: Deleting Files
Tap on Delete: After selecting the files, tap on the trash can icon in the lower-right corner.
Confirm Deletion: Confirm that you want to delete the selected files.
Best Practices for Deleting Files
Backup Important Files: Before deleting, ensure you have backups of files you may need later.
Organize Regularly: Make a habit of regularly reviewing and organizing your files to prevent clutter.
Use Storage Management Tools: Both Windows and macOS offer built-in tools to help manage storage effectively.
Troubleshooting Common Issues
Files Won’t Delete
Permission Issues: Ensure you have the necessary permissions to delete the files.
System Files: Some files are system-protected and cannot be deleted.
Recovered Files After Deletion
Check the Recycle Bin/Trash: If files appear again after deletion, check the Recycle Bin or Trash.
Storage Management Apps: Consider using apps that help manage and clean up storage more effectively.
Deleting files from internal storage is a straightforward process, but it’s essential to do so carefully to avoid losing important data. By following the steps outlined for each platform and adhering to best practices, you can maintain a clean and efficient storage system. Regular management of your internal storage not only helps with performance but also keeps your digital workspace organized and stress-free.
About us and this blog
Panda Assistant is built on the latest data recovery algorithms, ensuring that no file is too damaged, too lost, or too corrupted to be recovered.
Request a free quote
We believe that data recovery shouldn’t be a daunting task. That’s why we’ve designed Panda Assistant to be as easy to use as it is powerful. With a few clicks, you can initiate a scan, preview recoverable files, and restore your data all within a matter of minutes.
Subscribe to our newsletter!
More from our blog
See all postsRecent Posts
- How to recover data from portable hard drive 2025-07-10
- How to recover data from a broken hard drive 2025-07-10
- How do i recover files from a formatted hard drive 2025-07-10

 Try lt Free
 Recovery success rate of up to

