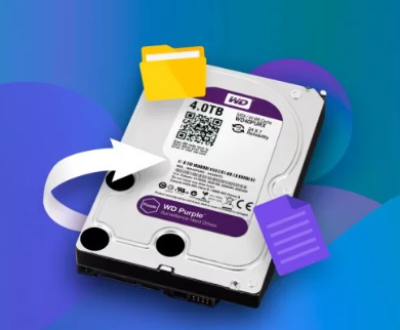
External hard drives are essential for data storage and backup. However, encountering the “External Hard Drive Not Initialized” error can be quite frustrating. This problem often means that the drive has either become inaccessible or is not being recognized by your computer system.
1. What Does “Not Initialized” Mean?
When an external hard drive is labeled as “Not Initialized,” it signifies that the drive does not have a recognized partition table. In simpler terms, the operating system cannot detect the file system or the structure of the drive. This prevents you from accessing the data stored on the drive.
2. Common Causes
Several factors can lead to this issue:
File System Corruption: The file system on the drive may be corrupted due to improper ejection, virus attacks, or other reasons.
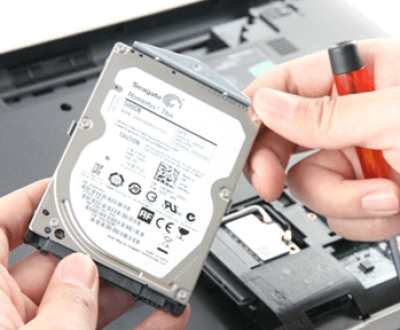
Physical Damage: Hardware failures, such as a damaged disk or malfunctioning connectors, can cause initialization problems.
Driver Issues: Outdated or corrupt drivers can prevent the drive from being recognized correctly.
Partition Table Corruption: If the partition table is damaged or missing, the drive will not initialize.
Connection Problems: Loose or faulty cables and ports can hinder proper detection.

3. How to Diagnose the Issue
To address the “Not Initialized” problem, start by diagnosing the cause:
Check Connections: Ensure that the external hard drive is properly connected to the computer. Try different USB ports and cables to rule out connection issues.
Test on Another Computer: Connect the drive to another computer to see if the problem persists. This can help determine if the issue is with the drive or the original computer.
Listen for Unusual Sounds: If the drive makes clicking or grinding noises, it might be physically damaged.
4. Solutions and Recovery Methods
4.1. Using Disk Management (Windows)
Open Disk Management: Press Windows Key + X, then select “Disk Management” from the menu.
Locate the Drive: Look for the external hard drive in the list. It should show as “Not Initialized.”
Initialize the Disk: Right-click on the drive and choose “Initialize Disk.” Select the partition style (MBR or GPT) and click “OK.”
Note: Initializing the disk will erase all data on it. If you need to recover data, skip this step and move to recovery methods.
4.2. Using Disk Utility (Mac)
Open Disk Utility: Go to Applications > Utilities > Disk Utility.
Select the Drive: Find the external hard drive in the list.
Initialize the Drive: Click “Erase” to format the drive. Choose the format and click “Erase.”
Note: Formatting will remove all data from the drive. Proceed with data recovery methods if necessary.
4.3. Professional Data Recovery Services
If the above methods do not work or if the drive has physical damage, consider professional data recovery services. These services have specialized tools and expertise to recover data from severely damaged drives.
Steps:
Research Services: Look for reputable data recovery companies. Check reviews and verify their experience.
Send the Drive: Follow the company’s instructions for sending the drive. They may offer diagnostics and quotes before proceeding with recovery.
Receive Recovered Data: The company will recover and return the data. Be prepared for potential costs depending on the complexity of the recovery.
5. Preventing Future Issues
To minimize the risk of encountering the “Not Initialized” issue in the future, consider the following precautions:
Regular Backups: Regularly back up important data to multiple locations to avoid data loss.
Safe Ejection: Always eject external drives properly before disconnecting them.
Update Drivers: Keep your device drivers up to date to ensure compatibility and functionality.
Check for Viruses: Use reliable antivirus software to protect your drive from malware and viruses.
About us and this blog
Panda Assistant is built on the latest data recovery algorithms, ensuring that no file is too damaged, too lost, or too corrupted to be recovered.
Request a free quote
We believe that data recovery shouldn’t be a daunting task. That’s why we’ve designed Panda Assistant to be as easy to use as it is powerful. With a few clicks, you can initiate a scan, preview recoverable files, and restore your data all within a matter of minutes.
Subscribe to our newsletter!
More from our blog
See all postsRecent Posts
- How to recover data from formatted hard disk 2025-07-14
- How to recover files from hard disk 2025-07-14
- How to recover data from portable hard disk 2025-07-14

 Try lt Free
 Recovery success rate of up to

